
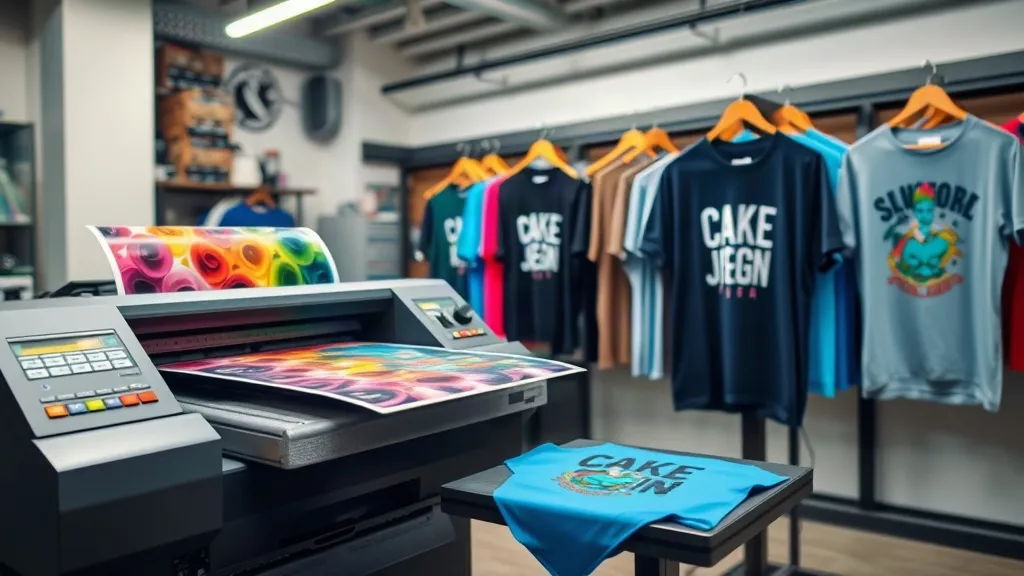
If you've been exploring custom apparel printing, you've likely encountered dtf technology. Direct-to-film printing has rapidly become a favorite among crafters, small businesses, and large-scale manufacturers alike. Unlike traditional methods that require multiple steps and specialized equipment, DTF transfers offer a streamlined approach that delivers exceptional results on a wide range of fabrics. Whether you're a hobbyist looking to personalize t-shirts or a business aiming to scale production, understanding DTF can open up a world of creative possibilities.
What Are DTF Transfers?
DTF stands for Direct-to-Film. It's a printing process where your design is printed onto a special PET film using water-based inks, then coated with a hot-melt adhesive powder. Once the powder is cured, the transfer is ready to be applied to fabric using a heat press. This method differs from DTG (Direct-to-Garment) and sublimation because it works on virtually any fabric, including cotton, polyester, blends, and even leather. The versatility and durability of dtf transfers have made them a game-changer in the custom apparel industry.
The process begins with a digital design, which is printed onto the film in reverse. The printer lays down a layer of white ink first, followed by the colored inks. This white base ensures that the colors remain vibrant even on dark garments. After printing, the film is dusted with adhesive powder, which is then melted into the ink using a heat source. The result is a flexible, stretchable transfer that can be stored for months and applied on demand.
Why Choose DTF Transfers Over Other Methods?
There are several compelling reasons why DTF has gained such a strong following. Let's break down the key advantages.
1. Unmatched Versatility
Traditional heat transfer vinyl (HTV) requires different types of vinyl for different fabrics, and sublimation only works on polyester. DTF, on the other hand, adheres beautifully to cotton, polyester, nylon, silk, and more. This means you can use one solution for all your projects, simplifying your workflow and reducing inventory. Whether you're printing on a 100% cotton t-shirt or a polyester blend hoodie, the results are consistently excellent.
2. Vibrant and Durable Prints
DTF transfers produce incredibly vibrant colors, thanks to the white ink base and high-quality pigments. The prints are also highly durable, resisting cracking, peeling, and fading even after multiple washes. When applied correctly, a DTF transfer can outlast the garment itself. This durability makes it a cost-effective choice for items that will see frequent use, such as work uniforms, sports jerseys, and promotional apparel.
3. No Weeding or Cutting Required
If you've ever spent hours weeding intricate vinyl designs, you'll appreciate that DTF eliminates this tedious step. Once your design is printed and powdered, it's ready to press. This saves an enormous amount of time, especially for complex, multi-colored designs. It also reduces waste, as there's no excess vinyl to discard.
4. Low Start-Up Costs
While the initial investment in a DTF printer and supplies may seem significant, it's often lower than setting up a DTG or screen printing shop. DTF printers are more affordable, and you don't need a separate cutting machine or a large space for screens and drying racks. For small businesses and startups, DTF offers a low barrier to entry.
5. Eco-Friendly Options
Many DTF inks are water-based and free from harmful chemicals, making them a more environmentally friendly choice compared to solvent-based inks. Additionally, the ability to print on demand reduces overproduction and waste, aligning with sustainable practices.
How to Apply DTF Transfers: A Step-by-Step Guide
Applying DTF transfers is straightforward, but following the correct steps ensures a professional, long-lasting result. Here's what you need to do:
- Preheat Your Heat Press: Set your heat press to the recommended temperature, typically around 300°F to 325°F (150°C to 160°C). Preheating the garment for a few seconds removes moisture and wrinkles.
- Position the Transfer: Place the DTF transfer on the garment with the printed side facing up. If your design has fine details, use heat-resistant tape to hold it in place.
- Press: Apply medium to heavy pressure for 10-15 seconds. The exact time may vary depending on your press and the transfer size, so always test first.
- Peel: After pressing, wait a few seconds for the transfer to cool slightly, then peel off the film. You can do a hot peel or cold peel depending on the film type. Most DTF transfers are hot peel, meaning you remove the film while it's still warm.
- Post-Press (Optional): For added durability, cover the design with parchment paper or a Teflon sheet and press again for 5-10 seconds. This ensures the adhesive fully bonds with the fabric.
Always follow the specific instructions provided by your transfer supplier, as different films and powders may have slightly different requirements.
Common Challenges and How to Overcome Them
Even though DTF is user-friendly, beginners might encounter some issues. Here are a few common problems and their solutions:
- Transfer Not Adhering: This usually happens due to insufficient pressure, incorrect temperature, or too short a pressing time. Increase pressure and ensure your heat press is calibrated.
- Cracking or Peeling After Wash: This can occur if the transfer was under-pressed or if the garment wasn't properly preheated. Always preheat and follow the recommended pressing parameters. Also, wait 24 hours before washing, and turn the garment inside out.
- Colors Look Dull: If colors appear muted, you might be pressing at too high a temperature, which can burn the inks. Lower the temperature and check the film's specifications.
- Film Sticking to the Press: Use a Teflon sheet or parchment paper between the press and the transfer to prevent sticking.
With a bit of practice, you'll be able to troubleshoot these issues quickly and achieve flawless results every time.
DTF vs. Other Printing Methods: A Quick Comparison
To help you decide if DTF is right for your needs, let's compare it to other popular methods:
- DTF vs. DTG: DTG prints directly onto the garment and works best on 100% cotton. DTF works on more fabrics and often produces more vibrant colors on dark shirts. DTG has lower setup costs for one-off prints, but DTF is more efficient for bulk orders.
- DTF vs. Sublimation: Sublimation requires polyester-coated surfaces and produces a softer feel, but it can't print white ink. DTF can print white and works on cotton, making it more versatile.
- DTF vs. Vinyl: Vinyl is great for simple, single-color designs but is labor-intensive for multi-color graphics. DTF excels at complex, full-color designs and requires no weeding.
- DTF vs. Screen Printing: Screen printing is cost-effective for large runs of the same design, but setup is time-consuming and expensive. DTF is better for small to medium runs and allows for easy design changes.
Ultimately, the best method depends on your specific needs, but DTF's versatility makes it a strong contender for most custom apparel projects.
Getting Started with DTF Transfers
If you're ready to dive into DTF printing, here's what you'll need:
- DTF Printer: Choose a printer that suits your volume and budget. Entry-level models are available for small businesses, while industrial printers handle high production.
- DTF Inks: Use high-quality inks designed specifically for DTF printing to ensure vibrant colors and durability.
- PET Film: This is the transfer medium. It comes in various thicknesses; double-sided matte film is popular for its ability to hold powder well.
- Adhesive Powder: The hot-melt powder that bonds the ink to the fabric. It's available in fine and coarse grades; fine powder is generally better for detailed designs.
- Heat Press: A reliable heat press is crucial for consistent results. You can use a clamshell, swing-away, or even a handheld press for small items.
- Curing Oven or Heat Gun: To melt the powder onto the film, you'll need a curing oven or a heat gun. Some printers have a built-in curing station.
Once you have your equipment, practice with small designs to dial in your settings. Join online communities and forums to learn from experienced users and stay updated on the latest techniques.
Frequently Asked Questions About DTF Transfers
How long do DTF transfers last?
When applied correctly, DTF transfers can last as long as the garment itself, often enduring 50+ washes without fading, cracking, or peeling. Proper washing (inside out, cold water, no bleach) will extend their life.
Can I use DTF transfers on dark fabrics?
Absolutely! DTF transfers are particularly effective on dark fabrics because the white ink base ensures that colors remain vibrant and opaque. This is a major advantage over sublimation, which requires light-colored polyester.
Do I need a special printer for DTF?
Yes, you need a DTF printer that uses DTF inks and is capable of printing on PET film. You can convert some standard inkjet printers, but dedicated DTF printers are recommended for best results and reliability.
What is the best temperature for pressing DTF transfers?
The ideal temperature range is typically 300°F to 325°F (150°C to 160°C). However, always check the instructions from your transfer supplier, as different films and powders may require slight adjustments.
Can I layer DTF transfers?
Yes, you can layer DTF transfers, but it's best to press each layer separately. Press the first transfer, peel the film, then apply the next layer on top, and press again. This ensures proper adhesion between layers.
DTF transfers have truly transformed the custom apparel industry, offering a versatile, durable, and cost-effective solution for creators at all levels. Whether you're just starting out or looking to expand your production capabilities, embracing DTF technology can help you bring your creative visions to life with stunning, long-lasting results.